Showing posts with label DIY. Show all posts

Wednesday, July 10, 2013

DIY Canvas Prints

I had seen this and thought that it looked really cute in the pictures, but thought for sure if I had tried it in real life, it would not look good.  I didn't even want to try it because canvas can be expensive.  But I was sure wrong!

I was shopping for some fun crafty CHEAP activities I could do with my toddler, so I went to WalMart.  While I was browsing the crafting isle, I came across possibly one of my best discoveries yet!

{packages of blank canvas}

And even better, they were the cheapest I have ever seen!  Father's day was coming up (I know I am a little bit behind at updating)-and I thought it would be perfect to make canvas pictures for the grandfather's of my kiddos for the perfect {and cheap} gift!

I was a little nervous at first because I thought they might look too "homemade", but I was actually really, really happy with the way they turned out!!

When my hubby came home from work, he saw the pictures and thought I had spent the big $$$ buckaroos printing a canvas print.


{The Supplies}:

Canvas (2 pack at Walmart for $5.79=$2.90 a canvas)
Mod Podge
Printed Picture
Foam Brush
Razor & Cutting board


{Steps}:

1) Using your foam paint brush, apply a layer of mod podge directly onto the canvas.

2) Place picture onto the canvas and turn the canvas with the picture adhered upside down (as pictured below) and press firmly. This is to ensure you remove any air bubbles, or places that did not secure well to the glue originally.


3) Let try for however long your mod podge recommends.

4) Using a razor cut off any excess edge you may have (even if it just a tiny strip hanging over the edge-it will make it look more professional)


5) Using your foam brush, coat a thin layer of mod podge over the top of the picture 

{important: If you used a laser jet printer-or printed the picture yourself, chances are your ink is going to smear.  Print your picture somewhere cheap such as Costco, or Walmart!}

Some are nervous to mod podge over the top of pictures, but I promise, it will give it a much more finished look!  You will not be disappointed!


6) Once the first coat is completely dry, put on a second coat. (if you do not wait and put a second coat-it will likely smear globs of mod podge all over your picture)

Once your second coat is finished, you will have a beautiful canvas picture to hang in your house!
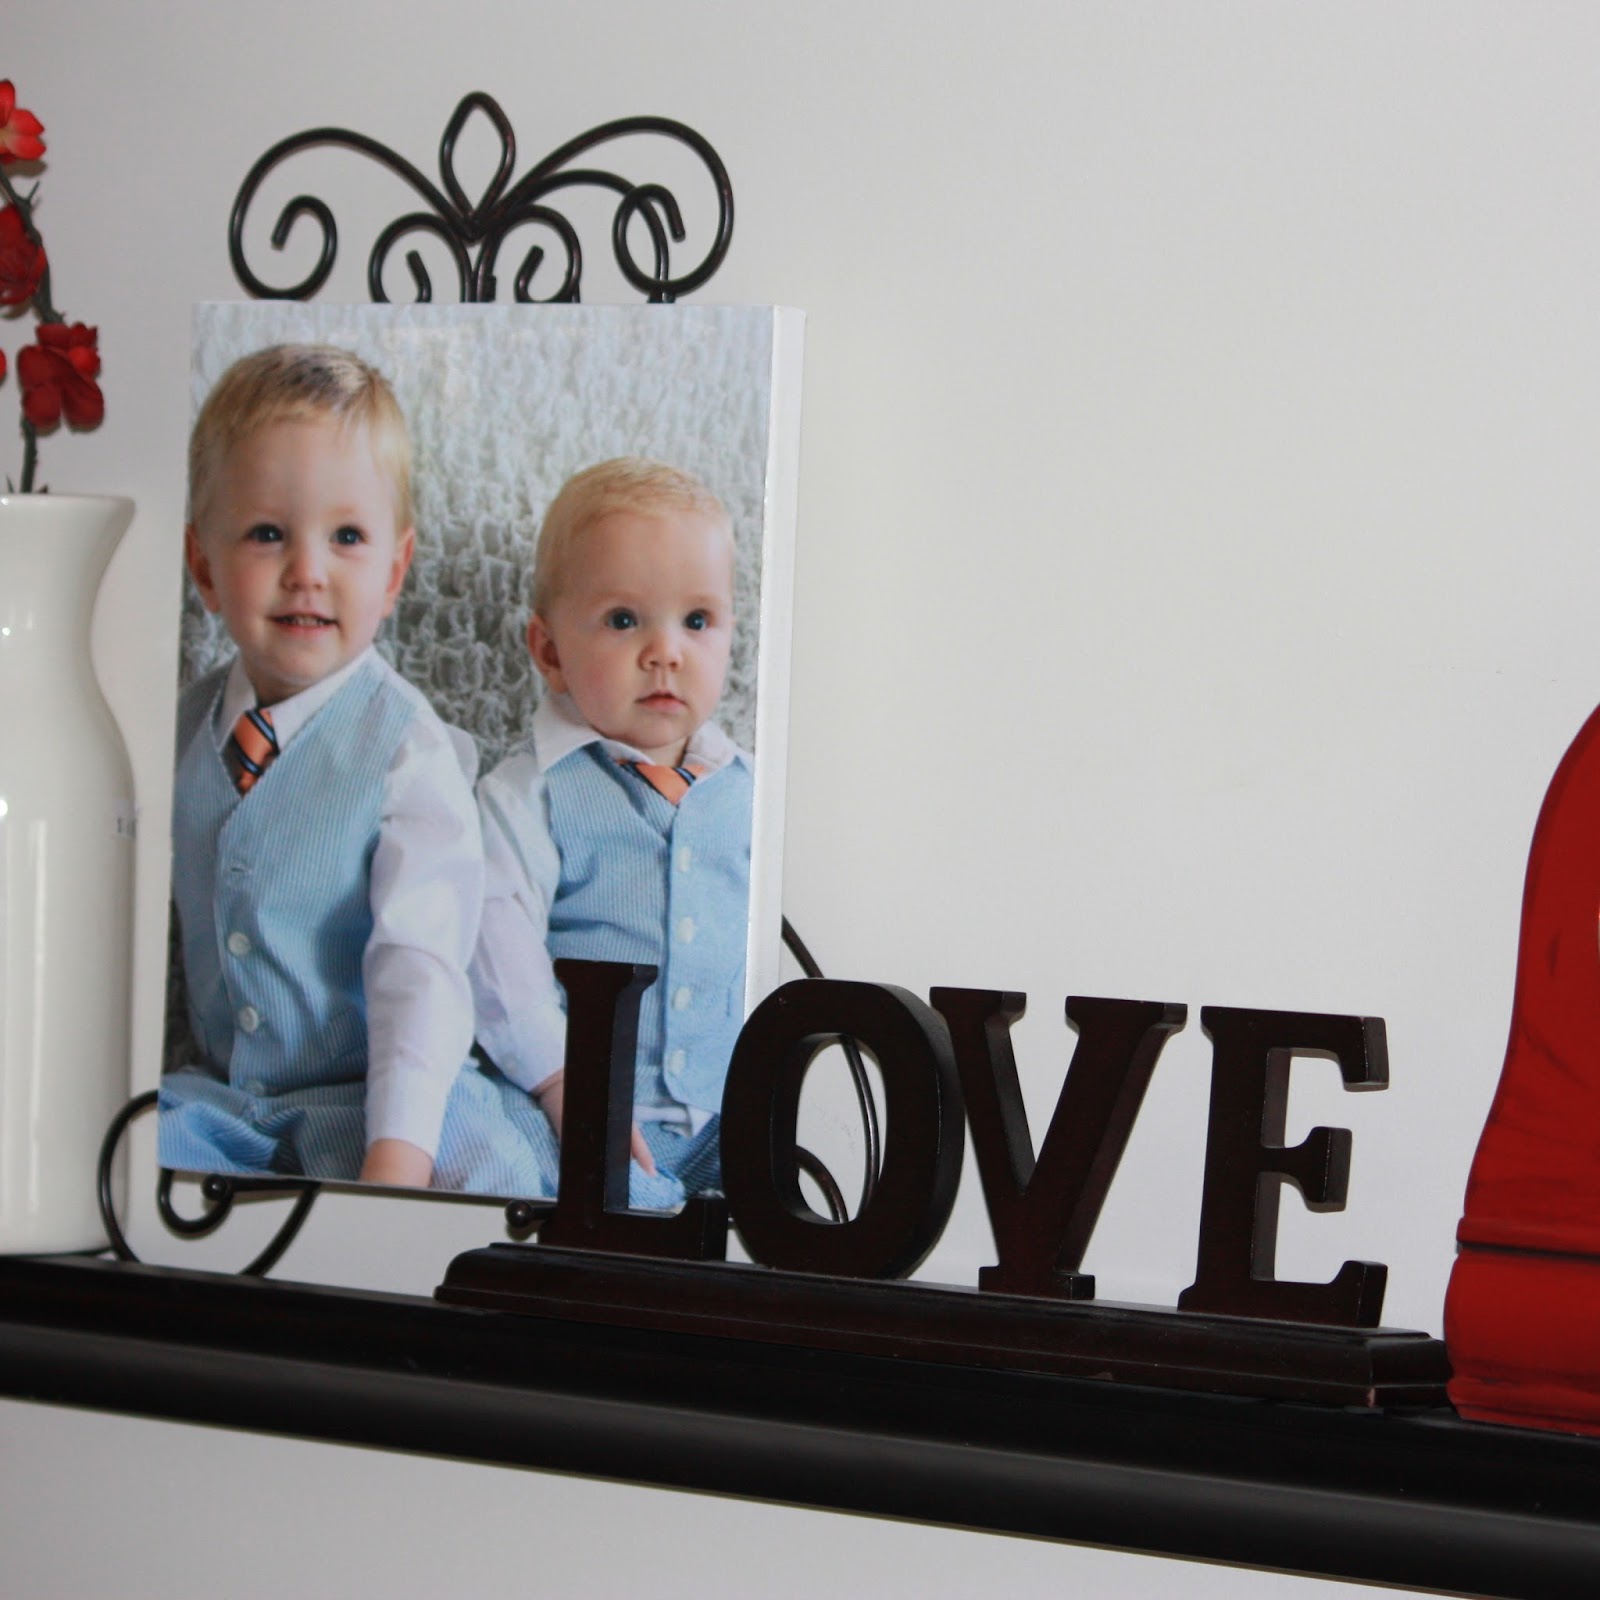


Since these are so cheap and easy to make they are also great for mothers day, father's day, birthday, or Christmas gifts for parents and grandparents!  Grandparents can never get enough pictures of their grandchildren, right?


Monday, June 10, 2013

Kitchen Cabinets


A new kitchen can cost a lot of $$


Mine: Under $100 (for the cabinets)- and a lot of work {TLC}.


Do you want to know what I LOVE about my kitchen...its unique and my own personal style-so if you don't like the colors here-try doing your own cabinets and {add your own unique flare}.  I had never done anything like this before-so if I can do it SO CAN YOU!!

{The Before:}

dull-colorless-drop lighting-laminate floor curling-gross and grimy


The first thing that HAD to go was the fluorescent light fixture. The hubby killed the breaker to the fixture and went to work-this part made me nervous since he is definitely not an electrician (well, at least he wasn't but can probably claim to be so now after all the electrical he did in our house).


We then removed all cupboards and drawers and took of all hardware.  Then came the HARDEST part: the cleaning and sanding.

{The key to a successful paint job is PATIENCE}


These cupboards were covered in every corner with dust and grime.  The grime had been sitting for so long it was sticky and hard to remove.  I knew I had to get it all up, or else the paint would not adhere to the areas of yucky build-up.


{Great Cleaning Tip: Mix equal parts of DAWN original dish soap with white vinegar}

I was fortunate enough to have a power belt sander that I was able to use on the larger surfaces of the cabinets to then sand them down.  The corners I did by hand.  Choose which sandpaper you would like to use after reading HERE.

After sanding I used a PURDY brush that I purchased from Home Depot (I LOVE using Purdy because even while painting, I would get frustrated because it would look slightly streaky, but when it dried it looked perfect!) So don't get frustrated!

After painting everything in one coat-I let everything dry for over 24 hours.  Then i LIGHTLY (very lightly) sanded everything down again using extremely FINE sandpaper.  Make sure to remove all sandpaper dust before putting a second coat of paint on.

Then, paint away.

The second coat is a lot less frustrating and goes much more quickly.

Once the second coat dried, I used a foam brush and dabbed the edges of each groove of the cabinet doors and drawers to give it an antique look (see below: although I completed this step while all the cabinets where still removed...much easier).  The nice part about using glaze is that it is pretty forgiving if you mess up.  Just have a damp cloth on hand, and if you feel you mess up, wipe it away quickly.


Once you let the glaze dry-Add a protective coat to your cabinets.  Cabinets can really get hashed and trashed so you want to make sure you protect your hard work!!


I used a Polyurethane from Home Depot and just followed the directions on the can, and it is a pretty tough coat and has worked great!


{The After:}


{I LOVE my Kitchen}


Supplies:

1 gallon can of BEHR paint+primer: $38.98
1 quart Polyurethane: $10.77
1 quart brown glaze: $15.97
1 Purdy angled brush: $14.77
Foam Brushes: Around $5
Sandpaper: $10


Total Cost: $95.59


Thursday, May 16, 2013

Table Transformation


Moving to an apartment has given me a whole new opportunity to revisit the way I want to style my home.  I had a little bit of difficulty because I was trying to combine furniture from 3 different rooms in my house, into one family room.

{The apartment felt cluttered, and chaotic}.

I loved each and every piece of the "hand-me-down" furniture we owned (as much as you can love hand-me-downs), but when you are combining one room full of yellow's, whites and gray's, with another room of blue's and red's, with neutrals, it was a mess!

My solution came easy while shopping for plants at home depot.  I needed something, ANYTHING in my family room to match.

So I decided to redo my end tables.

Before:
-A yellow end table from my basement family room
-A black end table from my upstairs family room
-Supplies: sand paper, a PURDY brush (I wouldn't use anything else), and paint and primer combo in one (I like my projects to be easy, and to go smooth-I could not do this without the Purdy brush, or the paint-and-primer in one)


With the paint and primer combo, after sanding you put 2 coats of paint on and

{voila}

...you have this beautiful matching furniture.   I feel like we have some consistency now.


After:


I am still looking for the perfect hardware, but for now, this is the closest thing to matching furniture I am ever going to own...at least for a while.


{My Color Choice}


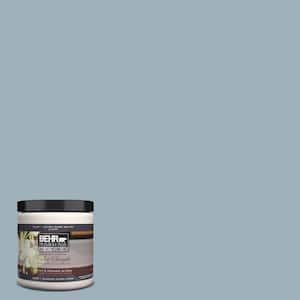
Behr: Blue Fox Paint and Primer  Sheen: Egg Shell

(I feel like the paint chip looked SLIGHTLY darker than the painted color)


Mother's Day flowers, perfect for my new table.

Friday, April 12, 2013

Own It!

Never be afraid to make it your own!  Experiment.  Be daring.  Be brave!  But be ready to make mistakes.  Consider yourself lucky if your creation turns out perfect on the first try!

You would be amazed at the number of paint samples I own, furniture that found a new home, meals that ended up in the garbage, fatigued muscle from arranging and rearranging.  


The little red tick-tock clock

One of my favorite failures was this little red clock.  I found it amongst a pile of junk at a garage sale and ended up having this clock given to me.  For free.  I didn't see the potential of this clock and it sat, brown and dull, on a shelf for a couple of weeks. It sat until my husband and I were making DIY christmas present picture frames (which turned out awesome) and I fell in LOOVE with the red we were using.

I painted the red on, and was not so in love anymore.  And long story short, through a series of FAILED attempts to love this clock, it is now my favorite accent piece in the house and have used it to adorn many areas that I feel are lacking.  This clock has made its way around the house, always being the perfect finishing touch to whatever mood I am trying to create.

Thankfully I am not here to talk about every failure I have ever experienced.  {That would take far too long} But am here to MOTIVATE and INVIGORATE.  The fact you may have failures is a sure sign you are succeeding; it means you are doing which is amongst some of the greatest success. 


What failure has caused you to fall in love?